How to include item information in notification email?
You can determine what item information will be displayed in the email body when sending a notification email, and you can also specify the order of fields in the notification email.
You could not achieve this in SharePoint Alert Me email without any coding if there are too many fields in a list, and you just want several necessary fields to be shown in the notification email. But with Alert Reminder Boost you can achieve this easily.
WHAT YOU'LL GET
WHAT YOU'LL NEED
The sample data we use for this case
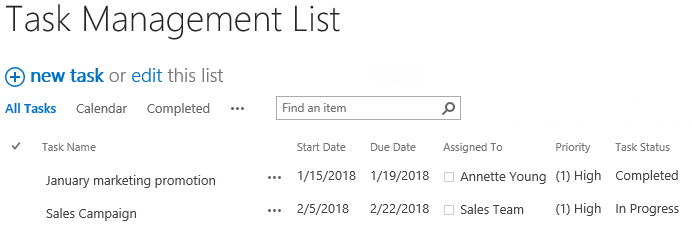
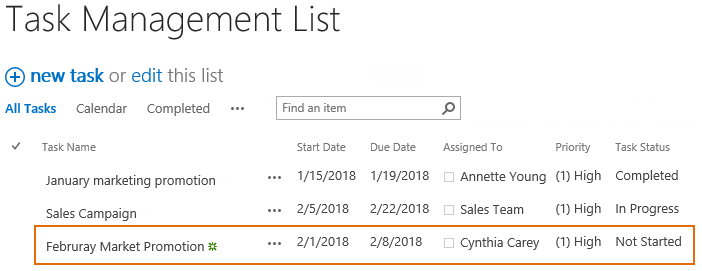
Create a list named as Task Management List from the Task template on a SharePoint site, and keep all fields as default.
Include item information in notification email
-
Download the trial version of Alert Reminder Boost, and install it to your SharePoint server.
-
Navigate to the Task Management List prepared above.
-
On the list ribbon, click Alert Reminder Settings in Settings group.
-
Click Add new alert item to create a new alert item, specify a unique title for it and select E-Mail in Delivery Method section. Keep other settings as default.
-
Under Event tab, keep all settings as default.
-
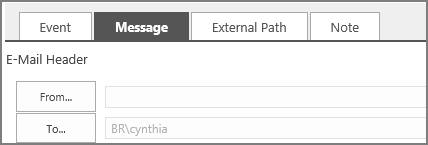
Under Message tab, specify user Cynthia Carey (br\Cynthia) as the recipient.
For the recipient, we support various ways to select recipients: Users, SharePoint groups and Active Directory groups; Users represented by Person or Group columns both in the current and external lists; Email addresses contained in the Contact list or Distribution list. You can choose whatever supported as recipient.
-
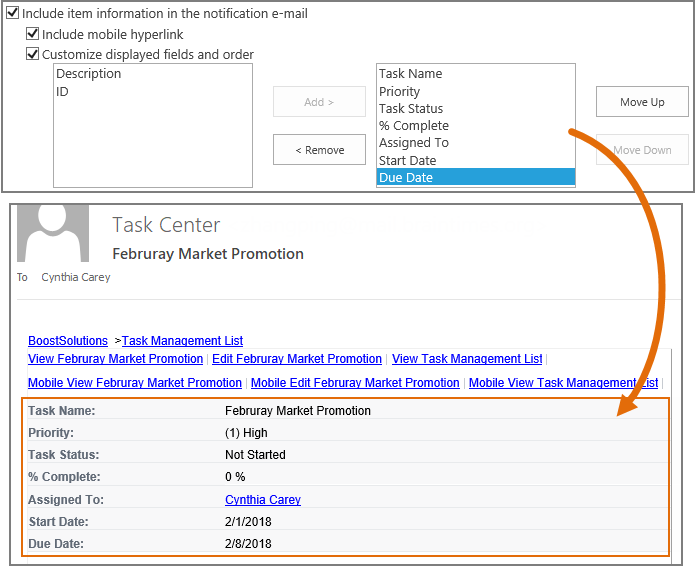
Select Include item information in notification e-mail option.
There are two options under the Include item information in notification e-mail option. One is Include mobile hyperlink and the other is Customize display fields and order.
* Include mobile hyperlink
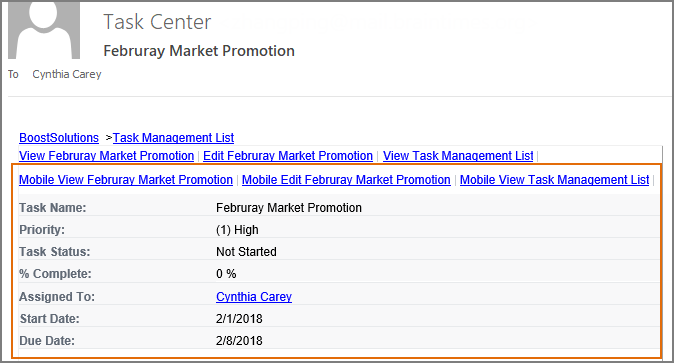
Select Include mobile hyperlink option, then the mobile hyperlink will be shown in the notification email as following.
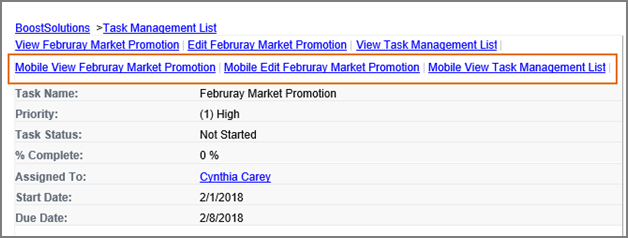 Click these links, you will be redirected to the mobile view of the current item or list.
* Customize displayed fields and order
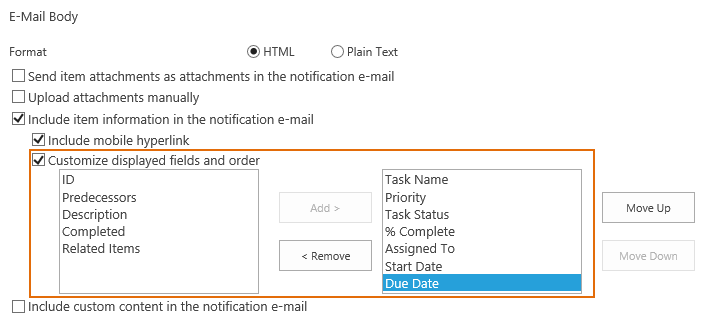
Select Customize displayed fields and order to customize which columns/fields will be displayed in the notification e-mail, as well as the order.
This option is very useful when there are many fields contained in the list, and you just want some of them to be shown in the alert email.
To change the fields’ order, select the field which you want to adjust its order, then click Move Up or Move Down to rearrange it. After configuration, the fields’ order displayed in the notification email will be just the same as what you want. Here we rearrange the fields’ order as shown below --- the box on the right side.
-
Leave other settings as default, and click OK to save settings for the alert item.
-
Now, let’s create a new item in the list.
-
Then, the recipient Cynthia Carey will receive a notification email as shown below which only contains the specified item information and the order of the fields is just the same as we configured above.