How to customize a notification email subject?
When you set up alert in a SharePoint list, there is a default subject format in the alert email. If you need to include a different column value in the subject or remove the extra text from the subject, you have to modify the alert template.
Alert Reminder Boost enhances the OOTB SharePoint alert me, and offers many unprecedented features, including customize notification email subject.
WHAT YOU'LL GET
WHAT YOU'LL NEED
The sample data we use for this case
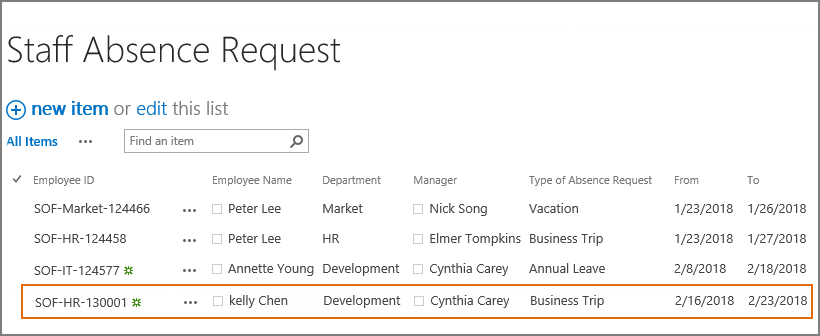
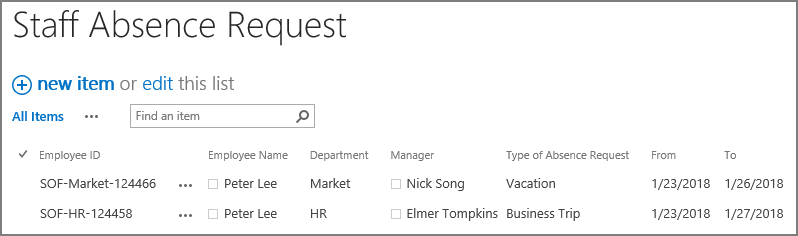
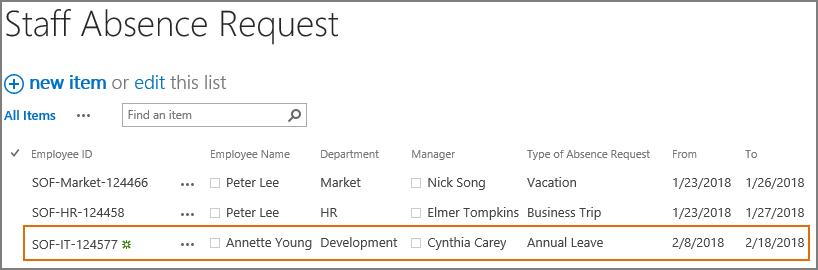
Below is a custom list named as Staff Absence Request, and contains information as following.
Customize alert email subject
-
Download the trial version of Alert Reminder Boost, and install it to your SharePoint server.
-
Navigate to the Staff Absence Request list prepared above.
-
On the list ribbon, click Alert Reminder Settings in Settings group.
-
Click Add new alert item to create a new alert item, specify a unique title for it and select E-Mail in Delivery Method section. Keep other settings as default.
-
Under Event tab, keep all settings as default.
-
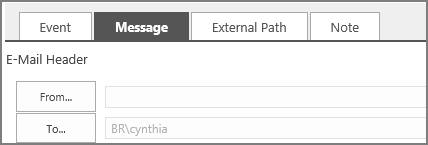
Under Message tab, specify user Cynthia Carey (br\Cynthia) as the recipient.
For the recipient, we support various ways to select recipients: Users, SharePoint groups and Active Directory groups; Users represented by Person or Group columns both in the current and external lists; Email addresses contained in the Contact list or Distribution list. You can choose whatever supported as recipient.
-
Click Subject… to specify the email subject.
Click [Insert column…], choose columns from the dropdown list and insert them into the subject, you can combine them with “-” character.
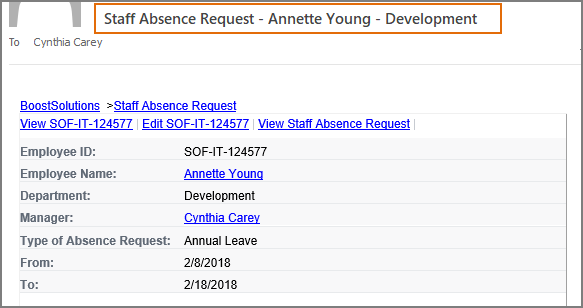
Here we set the subject as “[ListTitle] - [Employee Name] - [Department] Department”.
Unselect Include the alert name in the e-mail subject line and Include the notification type in the e-mail subject line option.
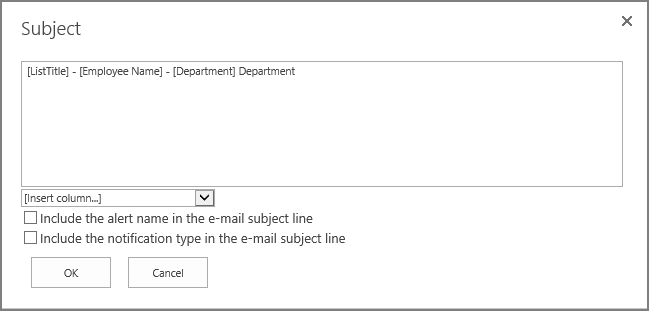
Other than list columns, you can also insert preserved fields into the subject, such as Created, Modified, Created by, Modified by and more, you can view all the supported options by clicking the dropdown arrow, and choose what you need accordingly
-
Leave other settings as default, and click OK to save settings for the alert item.
-
Now, let’s create a new item in the Staff Absence Request list as following.
-
The recipient Cynthia Carey (br\Cynthia) will receive an alert email with the subject containing the title of the list, the employee’s name and the department as following.
-
Create a new alert item by repeating steps from 2 to 7.
-
Click Subject… to specify a subject for the alert email.
Insert [Employee Name] into the subject.
Select Include the alert name in the e-mail subject line option, which means the title of the current alert item will be shown in the email subject.
Also select Include the notification type in the e-mail subject line, which means the change type will be shown in the email subject, including (New), (Modified) or (Deleted).
-
Again, create a new item in Staff Absence Request list as following.
-
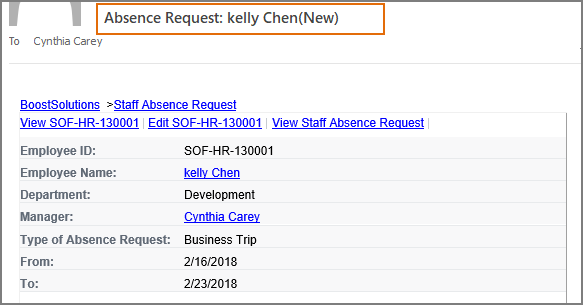
The recipient Cynthia Carey (br\Cynthia) will receive an alert email with the subject containing the alert’s name (Absence Request), the employee’s name (kelly Chen) and the change type (new) as following.